在 Apple silicon (M3 Max) 上对 Llama2 进行微调
目录
参考 https://www.datacamp.com/tutorial/fine-tuning-llama-2 进行Llama2 微调训练时发现使用稳重代码无法在 Apple M3 Max 上运行起来,经过一番实验后得以顺利运行,下面把过程记录下来。
相关代码: https://github.com/singleye/Llama2-finetune
1. 准备
pip install accelerate peft bitsandbytes transformers==4.38.1 trl
注意: * transformers 不能使用 4.38.2 版本,否则在 M3 上会碰到下面的错误
RuntimeError: User specified an unsupported autocast device_type 'mps'
- bitsandbytes 无法在 M3 上使用
import os
import torch
from datasets import load_dataset
from transformers import (
    AutoModelForCausalLM,
    AutoTokenizer,
    BitsAndBytesConfig,
    TrainingArguments,
    pipeline,
    logging,
)
from peft import LoraConfig
from trl import SFTTrainer
2. 模型配置
由于国内直接从 HuggingFace 网站下载模型速度太慢,可以使用镜像站进行下载。
设置环境变量 HF_ENDPOINT:
export HF_ENDPOINT=https://hf-mirror.com
下载模型:
huggingface-cli download --resume-download NousResearch/Llama-2-7b-chat-hf --local-dir Llama-2-7b-chat-hf
下载数据集:
huggingface-cli download --repo-type dataset --resume-download mlabonne/guanaco-llama2-1k --local-dir guanaco-llama2-1k
base_dir = '~/Llama2-finetuning'

# Model from local directory
base_model = base_dir + "/Llama-2-7b-chat-hf"

# Dataset from local directory
guanaco_dataset = base_dir + "/guanaco-llama2-1k"

# Fine-tuned model
new_model = "llama-2-7b-chat-guanaco"
3. 加载数据集
dataset = load_dataset(guanaco_dataset, split="train")
4. QLoRA 4-bit 量化配置 (M3 跳过)
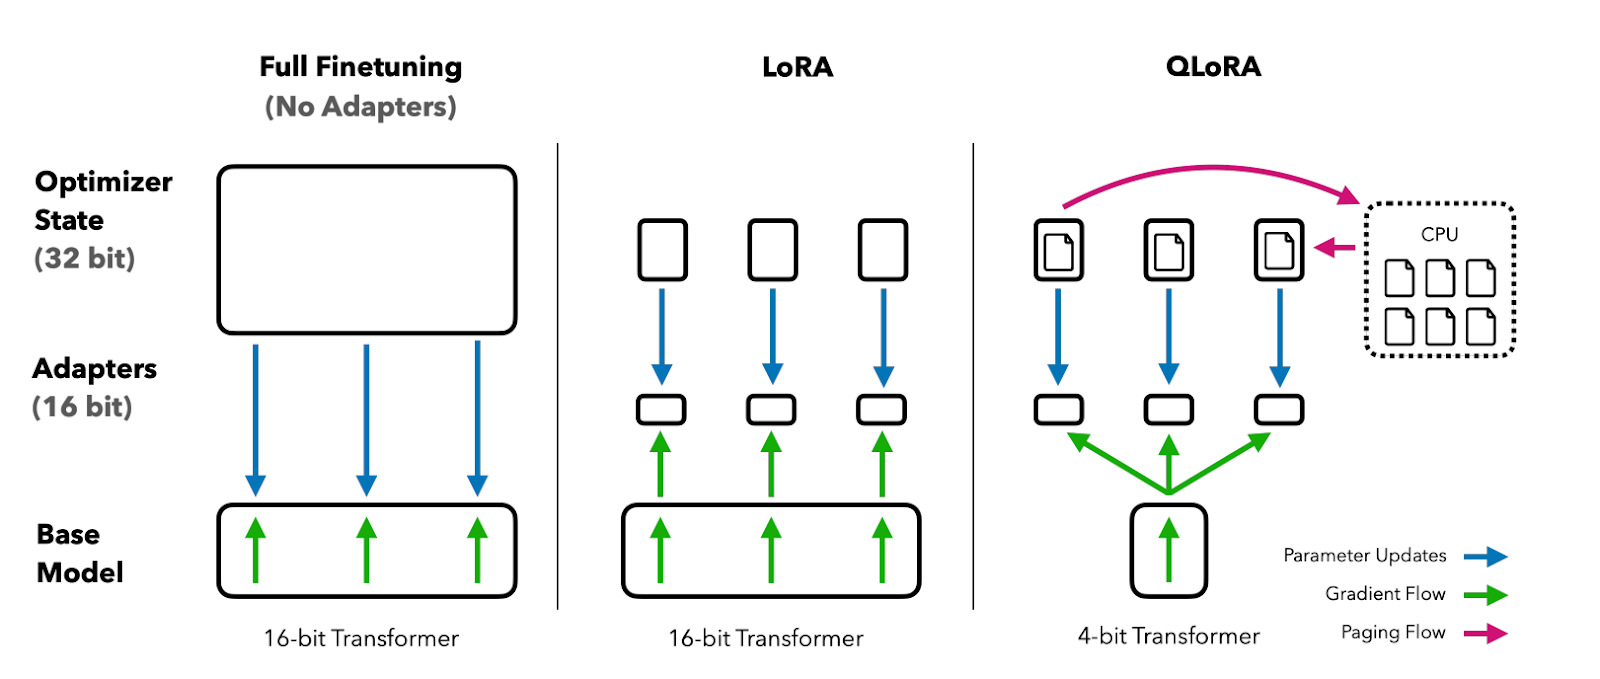
Paper: “QLoRA: Efficient Finetuning of Quantized LLMs”
compute_dtype = getattr(torch, "float16")

quant_config = BitsAndBytesConfig(
    load_in_4bit=True,
    bnb_4bit_quant_type="nf4",
    bnb_4bit_compute_dtype=compute_dtype,
    bnb_4bit_use_double_quant=False,
)
5. 加载模型
注意,由于 BitsAndBytesConfig 无法在 Apple Silicon (M3) 上使用,所以需要进行平台判断并做相应处理。由于无法使用量化方法进行处理,所以在 Apple Silicon (M3) 上需要使用更多的内存进行微调训练,在这个例子中大约使用了 75 GB 的内存。
compute_dtype = getattr(torch, "float16")

quant_config = BitsAndBytesConfig(
    load_in_4bit=True,
    bnb_4bit_quant_type="nf4",
    bnb_4bit_compute_dtype=compute_dtype,
    bnb_4bit_use_double_quant=False,
)
if torch.backends.mps.is_available():
    print("Using 'mps' (Apple Silicon)")
    active_device = torch.device('mps')
    model = AutoModelForCausalLM.from_pretrained(
        pretrained_model_name_or_path=base_model,
        trust_remote_code=True,
        low_cpu_mem_usage=True,
        device_map=active_device
    )
elif torch.cuda.is_available():
    print("Using GPU")
    active_device = torch.device('cuda')
    model = AutoModelForCausalLM.from_pretrained(
        base_model,
        quantization_config=quant_config,
        device_map=active_device
    )
else:
    print("Using CPU")
    active_device = torch.device('cpu')
    model = AutoModelForCausalLM.from_pretrained(
        base_model,
        quantization_config=quant_config,
        device_map=active_device
    )

model.config.use_cache = False
model.config.pretraining_tp = 1
6. 加载模型的 tokenizer
tokenizer = AutoTokenizer.from_pretrained(base_model, trust_remote_code=True)
tokenizer.pad_token = tokenizer.eos_token
tokenizer.padding_side = "right"
7. 配置 PEFT 参数
peft_params = LoraConfig(
    lora_alpha=16,
    lora_dropout=0.1,
    r=64,
    bias="none",
    task_type="CAUSAL_LM",
)
8. 配置训练参数
training_params = TrainingArguments(
	output_dir="./results",
	num_train_epochs=1,
	per_device_train_batch_size=4,
	gradient_accumulation_steps=1,
	gradient_checkpointing = True,
	learning_rate=2e-4,
	weight_decay=0.001,
	lr_scheduler_type="constant",
	warmup_ratio=0.03,
	max_grad_norm=0.3,
	max_steps=-1,
	save_steps=25,
	logging_steps=25,
	logging_dir="./logs",
	group_by_length=True,
	fp16=False,
	report_to="tensorboard",
	adam_beta2=0.999,
	do_train=True
)
9. 模型微调训练
trainer = SFTTrainer(
    model=model,
    train_dataset=dataset_train,
    peft_config=peft_params,
    dataset_text_field="text",
    max_seq_length=None,
    tokenizer=tokenizer,
    args=training_params,
    packing=False,
)
trainer.train()
10. 保存训练好的模型
trainer.model.save_pretrained(new_model)
trainer.tokenizer.save_pretrained(new_model)
11. 使用模型
logging.set_verbosity(logging.CRITICAL)

prompt = "Who is Leonardo Da Vinci?"
pipe = pipeline(task="text-generation", model=model, tokenizer=tokenizer, max_length=200)
result = pipe(f"<s>[INST] {prompt} [/INST]")
print(result[0]['generated_text'])
